
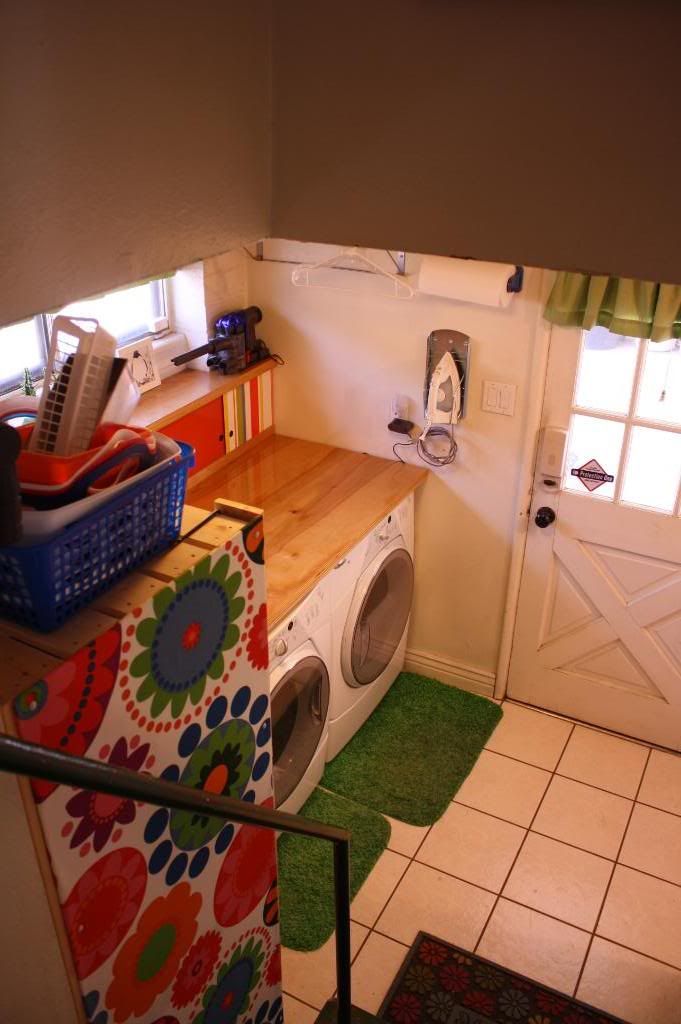
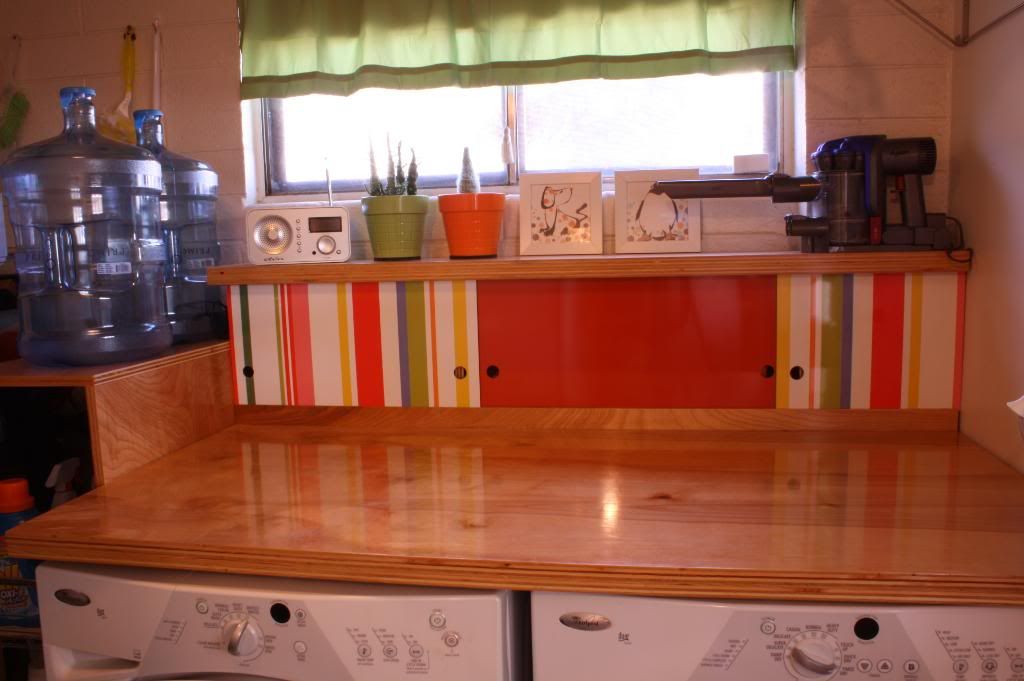
But in the process I started thinking about upgrading the appearance of the Laundry from upstairs. I had the piece of plywood that I had finished to use as my "writing desk" back a few posts ago and I just threw it up on top of the w/d and we were both amazed at how some wood transformed the look. While we were at Ikea buying the shelves we also bought some panels they had on clearance for $1 I think that are meant to be used to dress up a kitchen backsplash area. I had no idea what I'd do with them but then more I started thinking about the washer dryer "cover"...I thought some sliding doors would be good. I made a couple test cuts to see if the panels would slide in the kerf of the saw blade and sure enough...it worked perfectly. Luckily the panels cut very easily and I drilled the finger holes with a typical spade bit. The instructions show cutting them with a jig saw but I ran them through the table saw.
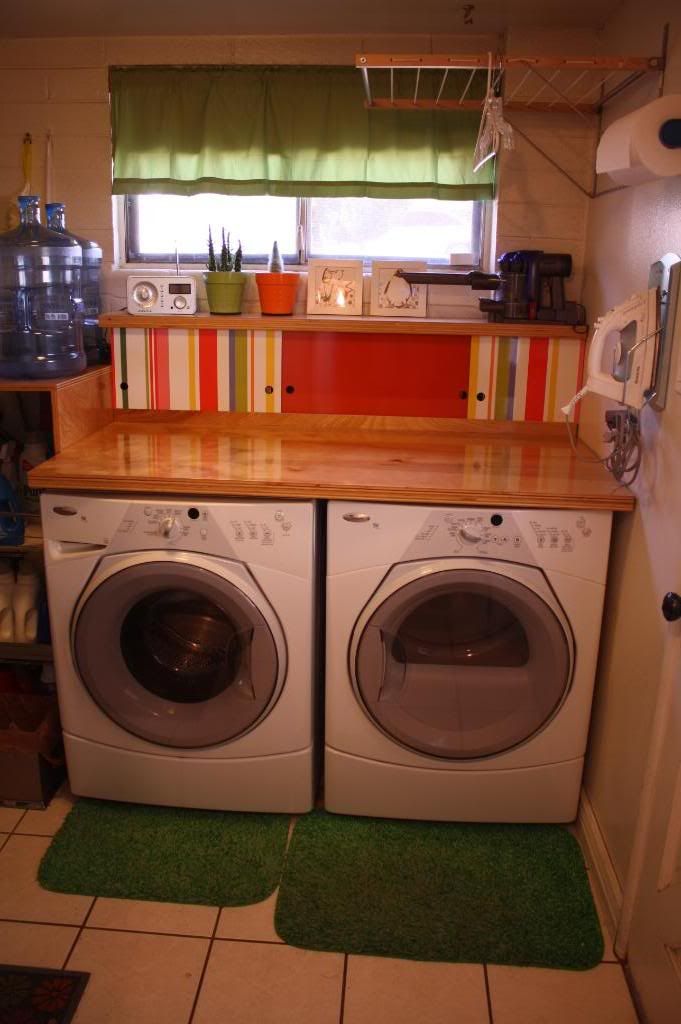
The rest of it is all made from plywood finished in clear-gloss polyurethane...which I will say is tons easier to work with than the satin I used on the speaker stands. It seems counter-intuitive but it's just how it is. As you can see, the left side behind the slider hides the 220 connection and the dryer duct.
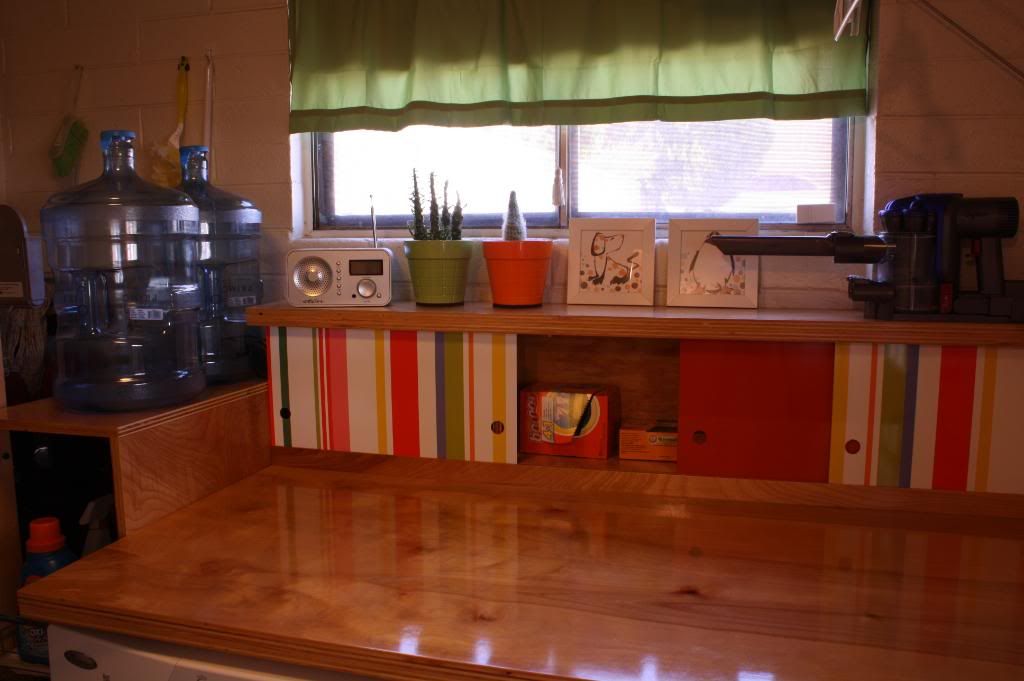
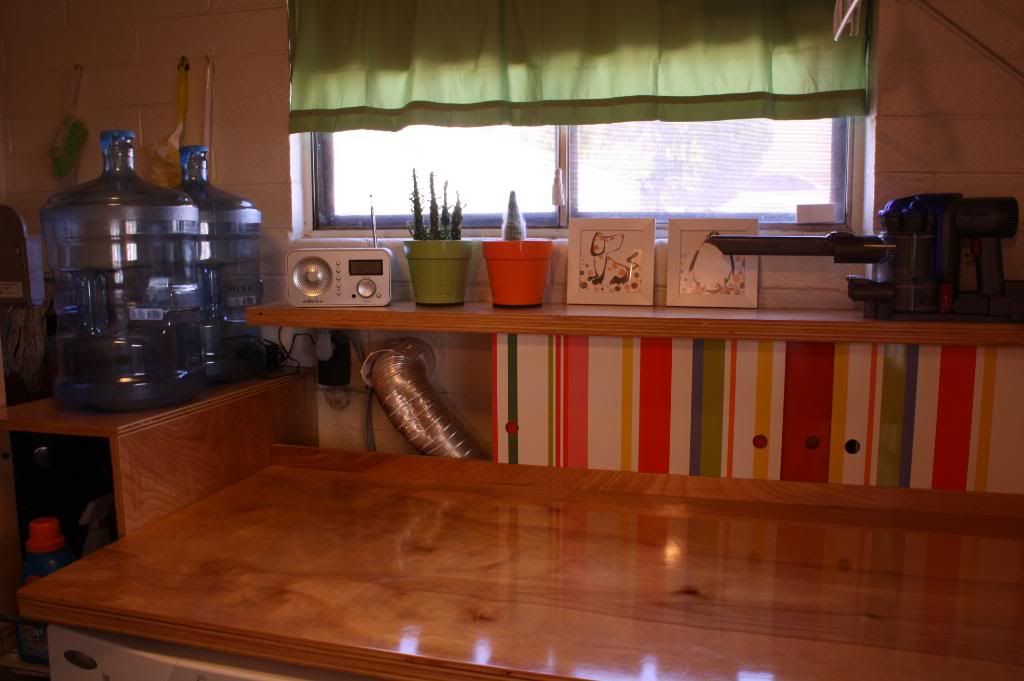
The rest is storage for small items like dryer sheets. The hardest part of the whole thing was figuring out how to install it and I didn't take any pictures of that but it was more complex than the end-product indicates. The left side has an aluminum angle for a cleat. The right side has a piece of 1"x 1/8" bar stock for legs at the front and back and in the center of the back, it is anchored into the masonry wall. Someday, I may need to add a piece of bar stock as a leg in the middle if it bows much. I didn't do that now because I was afraid the machines might rattle against it.
Overall, though, a very satisfying project. We leave and come in from the carport almost exclusively so we see this everyday and it's a vast improvement. I want to do our whole kitchen like this!
No comments:
Post a Comment