Wednesday, October 28, 2009

Goofin' Around

The GF made me put some orange bulbs in the luminous orbs of awesomeness (one of the very few upgrades we did durning the period I didn't post anything) so I did and they are even more awesomer than before. Check out the house at night. There was a lot of wind going on last night so the camera was moving around a bit.

Photobucket

The front stoop...(love that word):

Photobucket

Photobucket

And then just a random (but kind of cool) pic I took of the neighbor's house with a glowing orange orb peaking through the tree/shrubbery thing.

Photobucket

That is all.

Sunday, October 25, 2009

The Internets

Well I obviously didn't create the diagrams I was planning on but I will...along with the electrical layout. But, in the mean time, I've managed to hit one critical milestone in the office project...

Photobucket

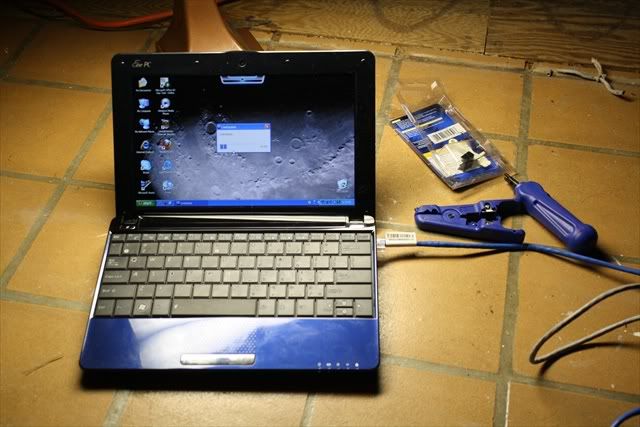
I have wired access to the internets! That little progress bar on the screen is music to my eyes. It may still be sitting on the yet to be removed quarry tile floor and it may eventually be powered via extension cord from the next room over but by golly, I'm connected! Note that during noveling I'll be using my desktop computer which does have wireless capabilities but the wireless connection is about 80' away on the other side of the house. I get a "very low" reading on the wireless signal so I needed...yes NEEDED...wired connectivity. And that's where this weekend's adventure began.

Photobucket

There are two access points to the attic. This one, on the south end of the house is in the closet. The shoe closet to be exact.

Photobucket

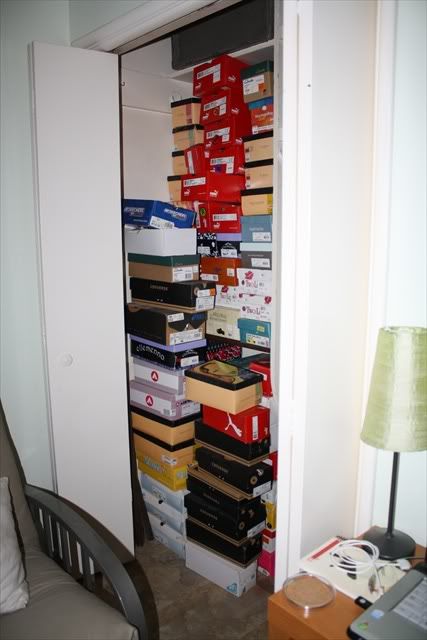
No...those aren't the shoes I had to move to get to the attic...These are:

Photobucket

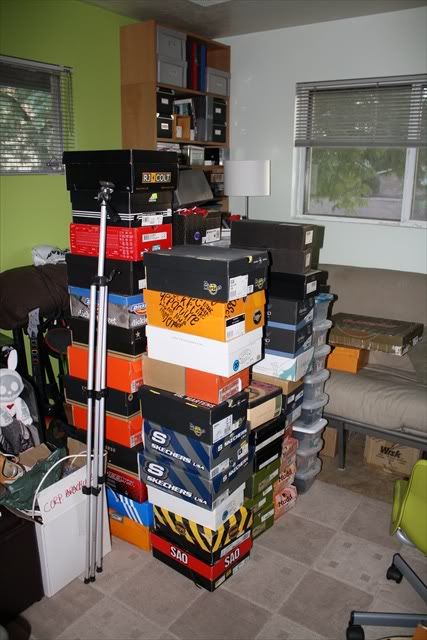
Yes...we have issues. And it doesn't stop there. I'm almost embarrased to say that it took me almost the entire day on Saturday just to run the Cat5e cable from one side of the house to the other.

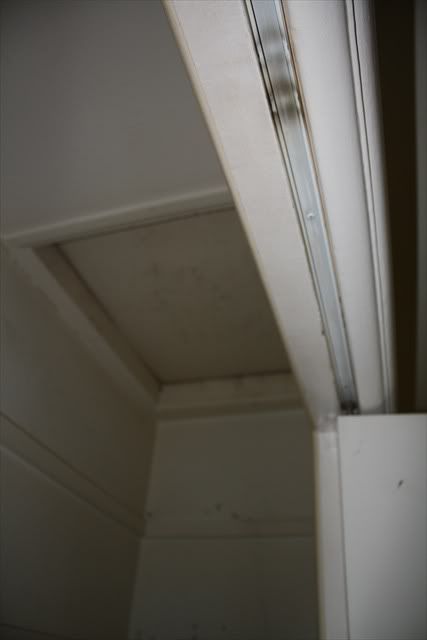
The other access to the attic is on the low roof next to the A/C unit pictured in a previous post. Once up in the attic I realized the attic space above the living room/kitchen/breakfast area was only about 18" tall at the center with several things in the way between on end and the other. There was no way for me get through on the inside. Climbing up and down and running from one end of the house to other and back up and down and back to the other side (rinse, repeat) and then employing the help of the GF, I found a wire that went directly though, looked like it would pull easily and didn't look like it would disable any major functions of the household.

Well...I was two out of three. I cut the cable, attached the Cat5 along with some twine for a future fish line and had the GF pull it through and it worked. But the cut line turned out to be the phone line to the south end of the house. Of course. That would be the line supplying the signal to the modem/router that I am trying to run data signal from.

I should note here that there are security system wires run everywhere in the house and doubly so in the attic and it could have been any one of them...but no...it was the phone line. So, used the twine to pull that line back across (with more twine) and then spent about an hour mickey mousing a reconnection using an old phone jack as my junction in the middle of the attic. That worked too.

By the end of the day Saturday, I had the cable through the house, through a wall jack hole in the "orange room" where the modem is and the other end was routed out of the attic, around the flat roof and back into the office where it awaited routing through the one wall of the office that is currently in existence.

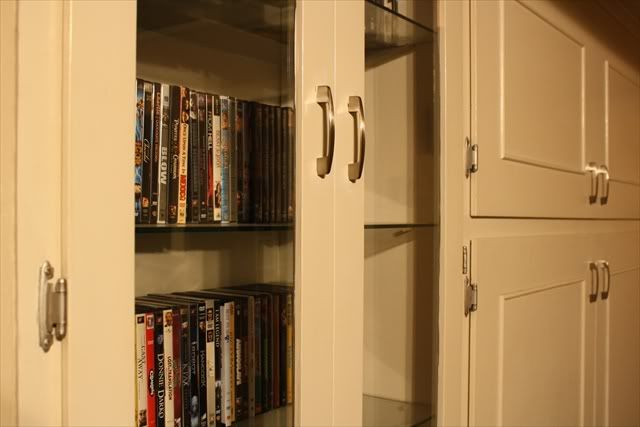
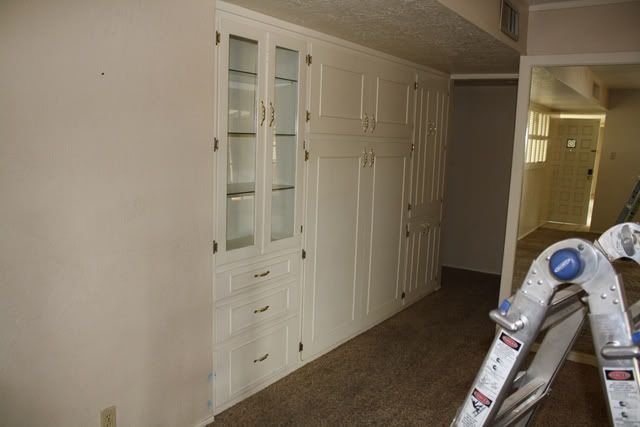
The GF was multitasking and this is her replacing all the hardware on the living room built-ins. This is an area, like the rest of the place that will get tackled in earnest at a later date but she decided she could not deal with the shiny brass any longer.

Photobucket

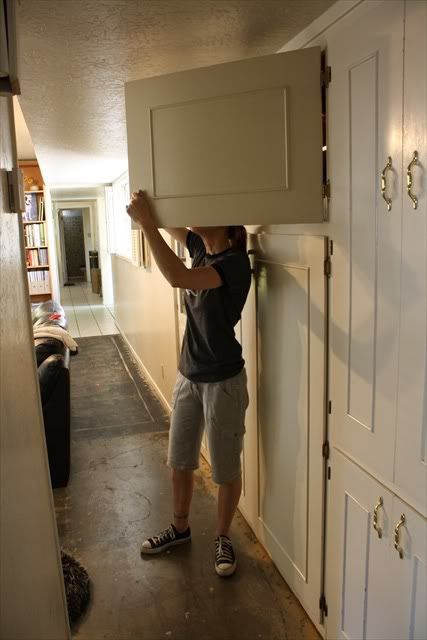
As a stop-gap measure it went a long way...a really long way in updating the area.

Photobucket

She was on a mission and she even painted...yes painted, every last hinge, by hand, in place.

Photobucket

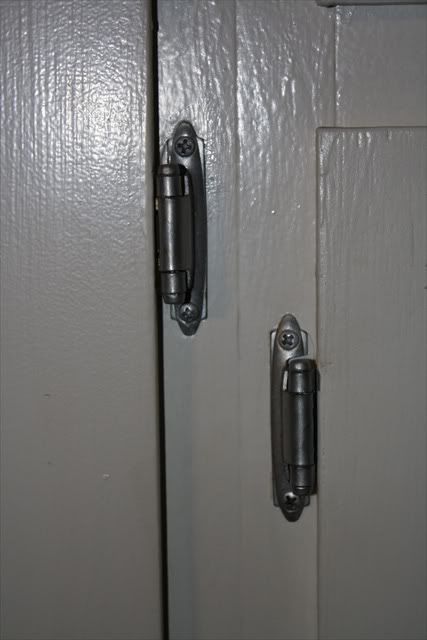
And they look great. And there were alot of them.

Photobucket

And...she did the same thing in the master bath. She is using rustoleum metallic "aluminum" paint and a small artist brush and said it wasn't too tough but it looked tough.

Whereas I spent quadruple the time and you can't even see what I did and it really only benefits myself. I think things are right in my universe.

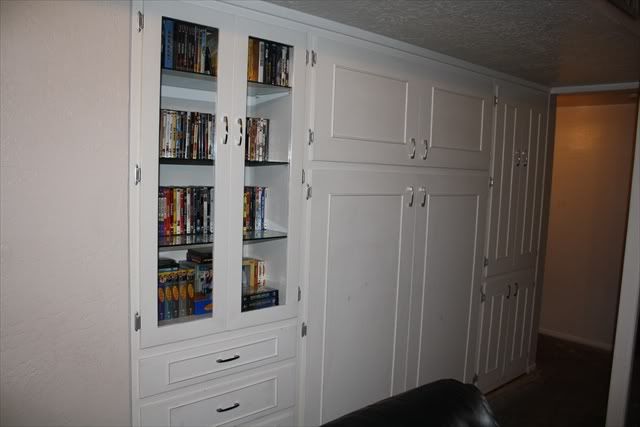
Here's a "before" pic with the shiny brass:

Photobucket

Sunday we, with the help of GF's dad, put in a new toilet (dual flush, thank you) in the powder room, routed the wire on the office side and terminated the ends along with the ends of a second cable I ran from the orange room to the green room (current office) which allowed us to get rid of the ghetto patch cord running across the hallway.

The end...today.

Friday, October 23, 2009

Not What I Was Hoping For

I messed around a little bit more on the never ending demo. Do you watch those shows on HGTV where they come in and just obliterate everything and then simply build it all back? That is either some fancy editing or they just add a huge contingency in the budget for redoing things they could have left in place. I say this because I spend half my time standing there scratching my head trying to decide what to take out and what to leave. Part of this, of course, is my own limited knowledge...or maybe my expansive knowledge of my own limitations. I try not to get too far down a road I can't return from. Anyway, that is just me ranting about how long this is taking.

Last night I was going to start tearing out the ceiling. That is, the wood ceiling over the area that will be the office. As I only really have a weekend and a half to get this done before "writing season" I am already starting to consider what I'm going to be left with at midnight November 1st. And it isn't pretty. GF, sensing the same thing asked if I really wanted to be trying to write with itchy particals of fiberglass wafting down on me the whole time, which, not surprisingly, gave pause to that enterprise.

Note, the ceiling has to come out so that when I put the new gyp in, it is at the same level as that on the other side of the wall and they match up. Otherwise, I'd probably just make holes where I need to to run wires and then gyp over it. Also note that I'm not yet locked into gyp. bd. I've been thinking about using sanded plywood on the ceiling. As it is looking like I'm going to have another month to think about it I will not make the decision today that I can so comfortably put off.

So, as I was pondering what to do with the ceiling I pulled a couple of peices of paneling down to see what is above it. (Not over my desk, thank you.) And what I found did not please me one little bit. That's not entirely true...the ceiling is insulated for which I am very thankful. But, the wall I am taking out...have halfway taken out...appears to be bearing. Or has aspects of a wall that could possibly be bearing. I was really hoping that was just a demising wall and I could ditch it completely.

Photobucket

See...the rafter is notched around the double top plate on the wall. You might say "duh" but check out the image below...there is no direct structural path through or around the clerestory windows and there is no header above them. Theoretically, if the roof sagged at all, it would crack the glass...but never has.

Photobucket

So...now I don't know what to do...besides stand there scratch my head and look at it some more. I'm posting this on lunch so I don't have time right now but I'll make a little diagram of the options (and why I don't like them) and post them later.

The thing I keep buoying myself up with is that this is an old house and some of the existing bones are going to show through...and that is ok.

Sunday, October 18, 2009

Unsteady Progress

In typical "me" fashion, I'm making sporadic progress generally in the right direction. This might sound like a broken record but I didn't get as much done as I would have liked but all-in-all, I like where I'm at.

Work continued on the demo in and around the office. Since I came up with a little bit of a plan earlier in the week I'm pretty excited because as I'm working in there I can start to picture what it'll look like when complete.

So, the big thing yesterday was I started working on removing the bi-fold doors and the header above. Not sure if I mentioned this but the plan is for this whole upper space (the loft) which is about 20' wide by 23' long to be one big open room except for my little corner of an office I'm carving out of it. That means the wall that bi-sects the room at the second widow mullion from the north has to go. For the office project, I only need to get the header out of the way so I can finish off the "end" of the green wall from the diagrams below.

Here's the header still in place with the doors removed:
Photobucket

Here it is with the header gone!
Photobucket

I tried to take a pic from outside looking in to show how much more open it is already:
Photobucket

Not sure how that might be looking on your end. On my computer it looked better but once I uploaded it, it looks really dark but trust me...way more open! I'm so excited about it that I'm thinking about taking the rest of the wall down while I'm at it just to finish the job. That'll put me further behind but I'm already behind so...big deal. I can't wait to see that whole gable end full of winows in its entirety in that room...can't wait!

As is to be expected I discovered some things in this endeavor. Foremost is the electrical situation. I think this whole space is being fed from 2 15 amp circuits. That was probably fine in '57 but not so much, today. The power, though, seemed to be running from the back wall of the office out through the green wall across the header to the front of the room. So, that is gone. Now, those 2 circuits feed just my office, which I think will be fine. I have a plan as to how to get more power to the other side of the room but that will have to wait for a new panel. In the mean time, I'm going to pull some wire between a couple of boxes and leave it for "future" use. I think I'll ty to create a wiring diagram and hopefully post it tomorrow.

I also have a plan for the cat5 cable. I almost bought some today but thought I'd look up whether I really need cat6 or if cat5 will be ok. My router is on the far end of the house away from this room so I'm going to hardwire it from there. I need about 150'. I'll post more about this later after I do a little research. Trying to decide if, in case I want another connection in this room, if I need to run a couple of runs or if I can install a single line and just splice in a switch in the future.

One other thing discoverd this weekend is that room gets hot! It was over one hundred today and it was pretty miserable up there. There is one A/C vent that feeds the whole space but that doesn't really do anything for the space on the north (office) side of the wall. That is why the wall unit was installed when that space was enclosed, I'm sure. And, that is why that unit is going to remain there. I will most likely build an enclosure to hide it but until I upgrade the system on the whole house, the wall unit will have to stay. I'm hoping while I'm writing in November, that I will not need it. Heat may be a different story but that is easier (and quiter) to deal with.

As far as the current A/C goes...it's ok. But I have the one vent in the Loft closed almost completely off because we haven't been up there this summer at all. As we get this closer to livable, it will be imperative that this room can be cooled and not with a wall unit. As we would like to also cool the AZ room (part for more usable space and part for the beasts) I am going to look into putting a second unit on the house. I would have to take a little space out of the "downstairs" storage room for the airhandler but I'm not real sure where the compressor would go.

Photobucket

The existing compressor is on the small piece of roof above the powder room next to the back door. (Note, pic is from before we moved in.) For reference, the wall unit is just behind the compressor. I have been thinking about extending that low roof out anyway because there isn't enough shade in the back yard for the beasts. So, when it's at all hot, we have to keep them in more than we (or they) like. If I build that extended cover, I'll make sure it can accomodate another unit.

Oy! So many projects...

Next step will be removing the ceiling and installing the wiring and cabling. Stay tuned.

Wednesday, October 14, 2009

Thinking Out Loud...as usual

So, I haven't made any progress in the real sense but I have been scheming...I mean planning.

Photobucket

The green wall was planned to be some sort of translucent plastic but I'm having trouble finding something to use. I'm looking for something thin and cheap but not corrugated that I can screw to the studs on both sides of the wall.

Photobucket

If that doesn't happen I'm going to just drywall it and paint it out. The window in the top is existing and I'll leave it but I'm thinking of adding another pane of glass to give it some insulation. The one good thing about drywalling this wall is it's already insulated because it was an exterior wall at one time and that will provide some sound attenuation. Probably doesn't matter much though because the door I have designed will likely leak sound like crazy.

Sunday, October 11, 2009

Well, It's been a while. 4 months, to the day, was my last post. There is good reason for that. We hadn't actually done anything. Well, nothing of any interest. Basically we moved in and started working on the GF's house in Gilbert to get it ready to rent. And then we worked on it some more. And some more. And then some more. And today we finally put the FOR RENT sign up.

I have decided to throw my hat in the ring for National Novel Writing Month (check out www.NaNoWriMo.org) so I'm going to try and crank out a 50 thousand word novel draft in the month of November. To that end, I decided to try to get my office built out before then. This accomplishes a couple of things: It will give me some privacy. It will, hopefully, provide an inspiring place to write and it gives me the opportunity to avoid thinking about my novel until the very last minute. Oh...and maybe most importantly it makes me make some decisions as I have limited time to get it figured out and built.

So, the fun has begun. I have started the demo. Below is the space as it existed when we bought it. I removed the carpet the day after I purchased it but otherwise haven't touched it.

Photobucket

The plan is to tear it down to the studs and bring it back up to speed. One of the biggest challenges to that plan is that I don't really have a plan. The only thing I'm "pretty sure" of right now is that the extent of the new office will be about the extent of the white tile. So the operable window on the right will be in my office. Thursday night after work I just decided to jump in and start removing things. 2 hours later it looked like this:

Photobucket

The "frove" is going to go because I don't think the fridge part can be fixed. It would have been an excellent writing companion with a stove top for hot water and a fridge for red bulls and monsters but I'm sure it is wildly ineffecient even if it worked and likely noisy too so it's "on to rustier pastures" for it. Actually, I'll post it on craigslist and hopefully someone will want it. The sink cabinet I am attempting to save to use in my workshop. Once removed, it's only about half a cabinet because, like lots of millwork from this era, it's built in place but luckily it came out intact. I'll add a back and a side to it and it will work out fine in the shop.

Note in the picture above that the floor is quarry tile. I was pretty sure this was previously an outdoor space but this confirmed it. The white tile that as over it came right up without a mark. Too bad I don't like it...I'd love to reuse it just to keep it out of the landfill but it's just not attractive and will come up. I'm hoping it doesn't give me too much hassel but I'm preparing for a battle.

After working on the rental today I came home and spent a couple more hours in the office and got everything out and started removing the wall paneling.

Photobucket

Removing the paneling showed that there was exterior type masonite paneling...previously board and batten.

Photobucket

Next step is going to be to remove all the paneling, which I'm hoping to accomplish tomorrow. That includes the ceiling. I'm not sure if I'll be removing the cladding from the tie-beams but I'll definitely be removing the tiffany lamps.

Sorry the pics are so yellow and out of focus...the camera is way smarter than me and I'm still trying to catch up.

So...to sum up; I work slow. I have no plan. I'm no photographer.